$20.00
1
Your cart is empty
Subtotal
We will hold your cart for 15:00.
Buy more, save more
Coupon discount
Shipping
Add 2 more items to unlock your free mystery gift.
Complimentary item.
Total
$20.00
We will hold your cart for 15:00.
When the power goes out, a Goal Zero Yeti can keep your fridge running, your lights on, and your phone charged. But to power larger appliances like a furnace or well pump, you need to connect the Yeti to your home's electrical panel. This guide shows you how to do it safely, whether you're a DIYer or plan to hire an electrician.
We'll cover two main methods: a manual transfer switch and a simple extension cord setup. We'll also discuss important safety tips and what you can realistically power with a Yeti. By the end, you'll know exactly what you need to turn your Yeti into a home backup powerhouse.
A Yeti is a portable power station that stores electricity in a lithium battery. It has AC outlets, USB ports, and 12V carports. While you can plug devices directly into it, connecting it to your home panel lets you power hardwired circuits like lights, a sump pump, or a furnace. This makes it much more useful during a prolonged outage.
However, you must do this safely to avoid backfeeding the grid, which can electrocute utility workers. The correct way is to use a transfer switch or an interlock device that isolates your home from the grid when the Yeti is providing power.
Goal Zero Yeti power stations come in various sizes, from the Yeti 1000 (998Wh) to the Yeti 1500 (2000W inverter). The inverter size determines what you can power. For example, a Yeti 1500 can run a refrigerator (around 700W start-up) but not an electric oven (5000W). Check your Yeti's continuous and surge wattage ratings.
Also, note the input/output ports. Most Yetis have a standard AC input for wall charging and a 12V car input. For solar, they use HPP or HPP+ connectors. When connecting to a panel, you'll use the AC output via a transfer switch or an extension cord.
A transfer switch is a small electrical panel that lets you select which circuits are powered by the grid or by your generator (in this case, the Yeti). It's installed next to your main panel and wired to specific circuits you want to power during an outage. This is the safest and most convenient method.
Installation steps:
This method is safe, code-compliant, and prevents backfeeding.
If you're using a Yeti 1500 or larger, you'll need a 30A inlet box and a 30A generator cord. On the Yeti side, it uses a standard 5-20P plug (20A). You'll need an adapter to connect to the 30A inlet, or have an electrician install a 20A inlet instead to avoid the adapter. Some Yetis (like the Yeti PRO series) have a 30A output, but for the standard Yeti models, a 20A inlet is sufficient.
Remember: Always follow the transfer switch manufacturer's instructions and have the work inspected by a professional.
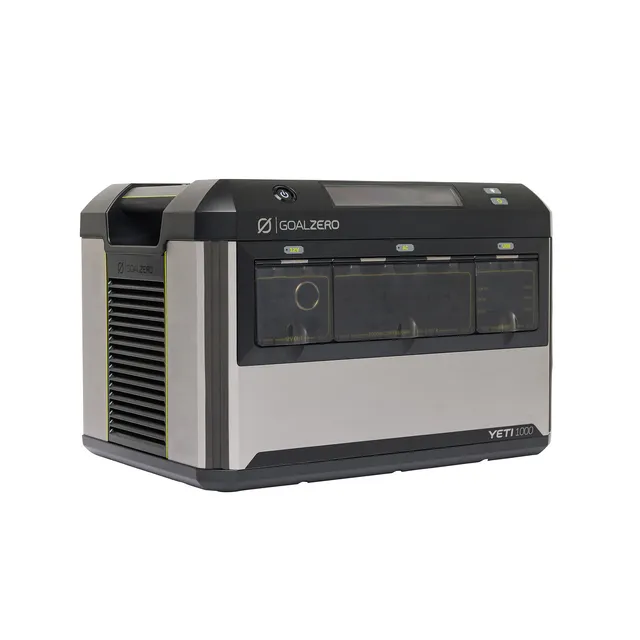
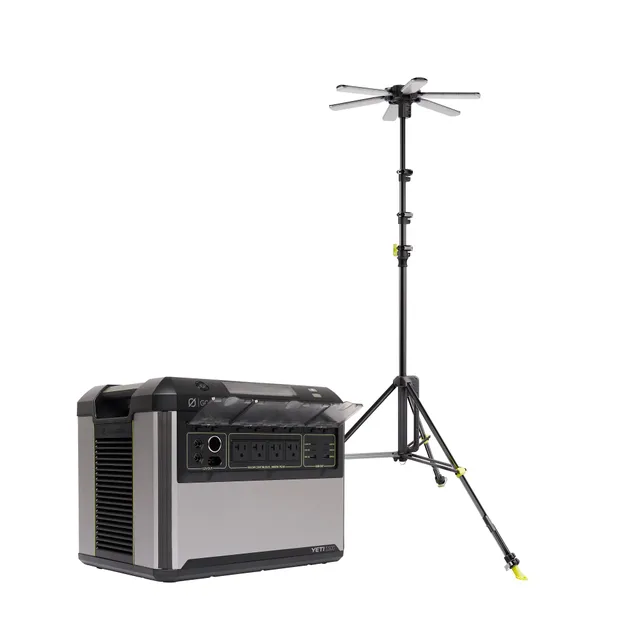
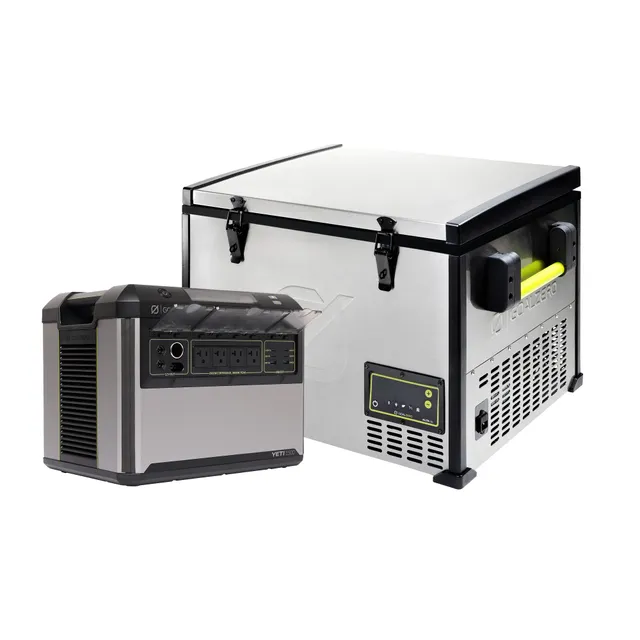
This is simpler: you plug individual appliances directly into the Yeti or use a heavy-duty extension cord to run a few items. No electrical panel connection is needed. This is not a permanent solution, but it's great for camping, tailgating, or short outages.
Steps:
Pros: No installation costs, portable, easy. Cons: Limited to devices you can physically reach with a cord, may not power hardwired circuits like a well pump.
Never plug a Yeti (or any generator) directly into a wall outlet and then into your home panel via a dryer outlet or similar. This is called backfeeding and is extremely dangerous. It can energize the grid and harm utility workers, damage your equipment, and cause fires. Always use a transfer switch or an interlock device.
Check your local electrical codes (NEC in the US) and have a permit if required. A licensed electrician will know the code requirements. Also, make sure your Yeti's battery is in good condition and follow Goal Zero's safety guidelines.
A Yeti is not a whole-house generator. It's designed for portable power and limited backup. With a Yeti 1500 (2000W), you can power:
You cannot power electric heaters, ovens, or whole-house AC. The battery capacity (Wh) determines how long. For example, a fridge drawing 100W will run for about 15 hours on a 1500Wh Yeti. But with solar panels, you can extend that.
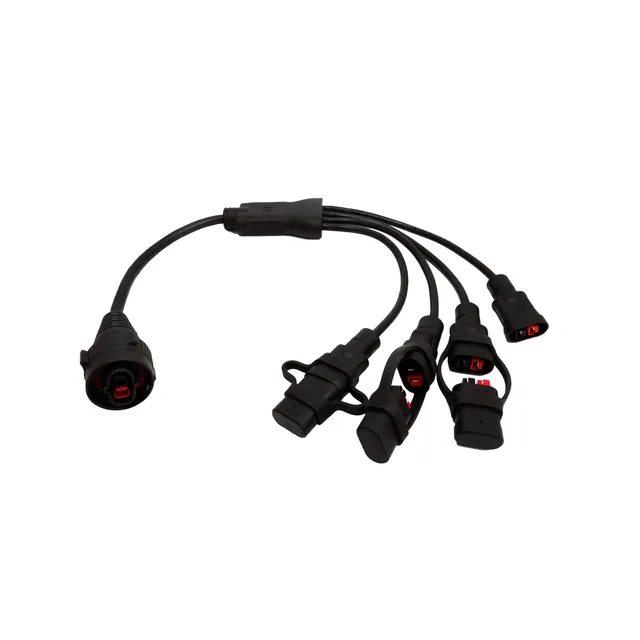
To extend runtime, you can connect solar panels to your Yeti. Goal Zero's own panels like the Boulder series are plug-and-play. For larger setups, you might use multiple panels connected with a combiner like the Goal Zero 4x HPP to 1x HPP+ Solar Series Combiner to increase solar input. This is useful for longer outages.
When using solar, check your Yeti's solar input voltage and current limits. For the Yeti 1500, it accepts up to 300W of solar input. Using panels that exceed this can damage the unit.
Connecting a Goal Zero Yeti to your home panel is a smart way to get backup power during outages. The safest and most reliable method is hiring an electrician to install a transfer switch. Alternatively, a simple extension cord setup works for portability. Always prioritize safety and follow local codes. With a little planning, your Yeti can keep your home running when the grid goes down.
Ready to build your home backup system? Explore our range of Goal Zero Yeti power stations, solar panels, and accessories at GridStream.